PC
How to Build Gaming PC Under Budget – 101 Guide
Whether you are a full-time gamer or gaming is just your hobby, every gamer deserves a budget gaming PC of their liking. But you can either find a budget PC that has a decent graphic card of your liking or the 1440p you need; there just isn’t the balance YOU need in your PC.
And so here you are, on a how to guide to build gaming PC under a Budget.
Now, building a PC from scratch (especially for the first time) might get frustrating, probably very much so, but trust us, it’s worth the great sense of achievement you will get.
It can honestly be very straigth forward!
Here’s how-
Step 1: Decide what’s important to you.
The key is balancing your components for maximum performance per rupee.
For building gaming PCs the GPU is obviously the highest priority since modern games are very GPU-intensive, so a stronger GPU yields a higher frame rate.
Now what’s your second-highest priority? Is it higher resolution or better storage? Where do you feel most comfortable compromising?
Map it out, strategize, and draw from experience with your older PCs.
We believe it’s better to go for a balanced approach. Go for decent equipment and build a holistically performing PC.
Step 2: Get your tools!
Find a screwdriver and long-nose pliers! That’s it; that’s the step! Easy enough, eh?
Step 3: The checklist
Let’s start off with a list of everything that you’re going to need to build gaming PC:
Core Components
Processor (CPU)
Graphics Card (GPU)
Motherboard (compatible with CPU & RAM)
RAM (minimum 16GB DDR4, preferably 2x8GB)
SSD (at least 500GB NVMe recommended)
Hard Drive (optional, for extra storage)
Power Supply Unit (PSU) – 550W or higher, 80+ certified
Cabinet/Case (good airflow, fits GPU size)
Optional Components
Aftermarket CPU Cooler (if not using stock cooler or planning to overclock)
Additional Case Fans (for better airflow)
WiFi Adapter (if motherboard doesn’t have built-in WiFi)
Sound Card (if higher audio quality is required)
Peripherals (if needed)
Monitor (1080p or better, 75Hz+ for gaming)
Keyboard (mechanical or membrane)
Mouse (basic or gaming-specific)
Speakers or Headphones
Webcam (for streaming or video calls)’
Microphone (optional)
Tools and Setup Items
Phillips Head Screwdriver (preferably magnetic)
Thermal Paste (only if CPU cooler doesn’t include it)
Zip Ties or Velcro Straps (for cable management)
Antistatic Wrist Strap (recommended)
Bootable USB Drive with Operating System
HDMI or DisplayPort Cable (for connecting monitor)
After-Build Setup
Enable XMP in BIOS to run RAM at full speed
Install Windows/Linux and all drivers
Update BIOS (if necessary)
Install essential software and games
Check CPU/GPU temperatures under load
Let me know if you want this checklist tailored for different budget ranges or gaming preferences.
The guide to build gaming PC in your custom-price
Each entry-level build above costs roughly ₹50,000~55,000 (before peripherals/OS). The mid-range builds come in around ₹100,000, and the high-end around ₹170,000. Prices fluctuate, so check Mostech for current deals!

STEP 4: Attention, stand at ease AKA Start the Assembly!
1. Safety first:
Use a clean and flat surface when working.Ground yourself by touching a metal part of the case or you could also use an anti-static wrist strap. so you don’t fry components with static.
2. Install M.2 SSD (where applicable):
If you have an M.2 NVMe SSD and have a motherboard with an M.2 connector, insert it now. Place the drive at approximately a 30-degree angle in the hole, and then it needs to be flattened down and held with its minuscule screw.
3. Installing the CPU:
Release the locking mechanism of the CPU socket on the motherboard. Put the Vienna notch on the golden triangle of the CPU together with the socket mark and put it in by gently dropping it in. Lower the lever to lock it.
4. Install RAM:
Align the notch on each of the RAM sticks with the motherboard slot and push down straight into it until the side clips snap. Ensure that the ends of the sticks have been driven home.
5. Install CPU Cooler:
A standard cooler will probably already have thermal paste applied, so there’s no need to apply any. Other than that, use a pea-sized drop of paste on the CPU. Put the cooler at the CPU/socket and screw it at the appropriate place or clip it. Insert the fan of the cooler into the CPU fan point of the motherboard.
6. Install the Motherboard in the Case:
Insert the motherboard into the case, making sure to align it with the standoffs (the screws that have been raised on the case). Screw it firmly in place, though not too hard.
7. Fit Power Supply:
Undo the power supply (PSU) heatsink screws and insert the PSU into the computer (most often the bottom of the case). Plug the motherboard with the 24-pin ATX main power cable and the 8-pin (4+4) CPU cable into the upper corner of the board.
8. Install GPU:
Remove the suitable expansion slot covers of the case. Install your graphics card as forcibly as possible in the largest PCIe x16 connector of the motherboard, which will start clicking. The next step is to screw it on the case. Lastly, attach the PCIe power cable(s) of the PSU to the GPU in case of necessity.
9. Insert Front-Panel Cables:
Insert connectors on the front panel of the case: power switch, reset switch, power LED, HDD LED, USB, and audio headers, and plug them into the corresponding holes on the motherboard. Pinout is the same as the mobo manual. These are tiny cables that govern the buttons and the front ports of the case.
10. Cable Management:
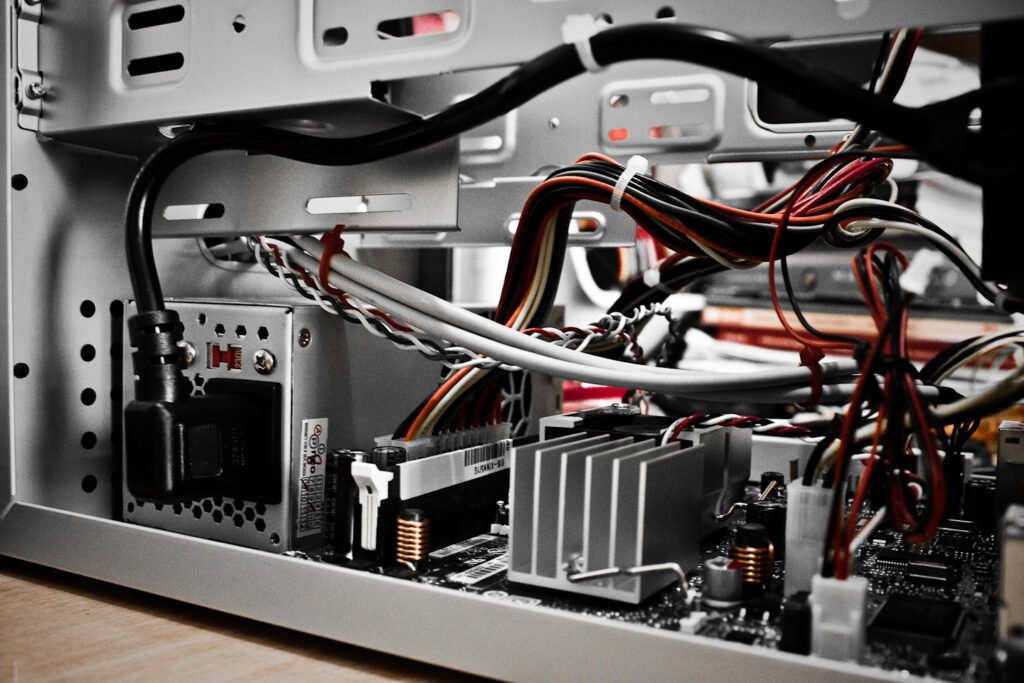
Cleanly route cables: tie them either to the back of the motherboard tray or to case edges. There should not be any cables obstructing fans and air. Proper cable routing enhances cooling and makes it look clean.
The insertion of a graphics card into a PCIe port. Upon attaching all the cables, take a final run of all the loose ends, close the case, and attach your monitor, keyboard, and power cord. Boot up and check the BIOS to see that the drives, RAM, and CPU are recognized.
These are the steps to remember, and by focusing on getting quality parts (specifically, a good GPU and SSD), you will get a stable and high-performance gaming rig. Higher build tiers are associated with clear expectations: using the entry build, one can play popular games at 1080p around 4040 and 60 FPS (more so in esports titles), the mid-range rig can play at ~ 60+ FPS at 1080p (even new AAA games), and the high-end one flies through 1440p games (e.g: -141 FPS in Outer Worlds).
And if all this seems too much or you just dont have the time, We can build your Budget Custum PC for you.
Order your Budget custum build PC here!
Image source: Flicker


I’m really enjoying the theme/design of your
site. Do you ever run into any internet browser compatibility problems?
A number of my blog audience have complained about my site not working
correctly in Explorer but looks great in Safari. Do you have
any solutions to help fix this problem?